
Die cutting is a finishing process that uses a sharp steel die, shaped like a giant precise cookie cutter, to cut paper, cardstock, or other substrate into a custom shape. As our own bindery and finishing team puts it, a die is “a thin razor-sharp cutter molded into a specific shape that is used to cut paper, cardstock, or some substrate.” That single tool is what turns a flat printed sheet into a folding carton, a rounded-corner label, a presentation folder with a business-card slit, or a window-shaped hang tag.
If you have ever wondered how a cereal box, a blister card, or a uniquely shaped mailer gets its outline, the answer is almost always a die. This guide explains what die cutting is, how the process works, the main types you will run into, and how to prep a file so the shape comes out clean.
Key Takeaways
- Die cutting cuts printed material into a custom, non-rectangular shape using a metal die, a razor-sharp blade bent into the outline you want.
- Steel rule dies are the workhorse for paper and packaging. Good ones hold a tolerance of about plus or minus 0.005 inch, tight enough that the cut lines up with the print.
- The process pairs with scoring, creasing, and folding, which is how a flat sheet becomes a box that ships flat and pops into shape.
- Common outputs include folding cartons, custom boxes and mailers, labels, presentation folders, hang tags, retail displays, and die-cut yard signs.
- File setup matters. A clean vector dieline, correct bleed, and a proof are what keep the shape sharp and on-register.
- Packaging is a big reason die cutting is in demand: the global folding cartons market was worth about USD 185.18 billion in 2025 and is on track to grow past USD 296 billion by 2034.
What is die cutting?
Die cutting is the process of cutting a printed or blank sheet into a specific shape using a die, a custom blade formed to match the outline of the finished piece. Instead of a straight guillotine cut that only produces rectangles, a die can cut curves, notches, rounded corners, slits, and interior windows in one pass.
Think of the die as the negative of your shape. The blade is bent and mounted so that when the press brings it down (or rolls it) against the paper, it presses cleanly through the material and leaves your outline behind. The same tooling can also cut interior holes, such as the hanging hole on a shelf tag or the slot that holds a business card inside a folder.
Die cutting sits in the finishing stage of a print job, after the ink is down and dry. It is the step that gives a piece, in our team’s words, “a unique look that stands out and gets remembered.” Ka-Pow!
How does the die-cutting process work?
The die-cutting process presses a shaped steel blade through the material against a hard base, cutting the outline in a single strike or a single rotation. Well-built steel rule dies typically hold a tolerance of about plus or minus 0.005 inch, and in critical areas some tooling reaches plus or minus 0.003 inch, according to die maker Millennium Die Group. That precision is what keeps the cut aligned with the printed artwork so a border does not run off the edge.
Here is the sequence most jobs follow:
- Design the dieline. A vector outline (the dieline) is drawn to the exact finished shape, including any interior cuts, scores, and fold lines.
- Build the die. A steel rule blade is bent to match the dieline and set into a base. Creasing rule is added where the piece needs to fold rather than cut.
- Print first. The sheet is printed and coated in our offset or digital department, then allowed to dry.
- Cut. The printed sheet is registered to the die and cut, so the shape lines up with the artwork.
- Strip and finish. The waste (the matrix) is removed, and the piece moves on to folding, gluing, foiling, or whatever the job calls for.
Because the die is a physical tool, it can be reused for repeat runs, which keeps per-piece cost down once the tool exists.
What are the main types of die cutting?
The main types of die cutting are flatbed (steel rule) die cutting, rotary die cutting, and digital or laser cutting, and the right one depends on the material, the run length, and the shape. Each method makes the same kind of custom outline, just with different tooling and speed.
- Flatbed / steel rule die cutting. A flat die is pressed straight down through the sheet. This is the standard for thicker stocks like folding carton board, presentation folders, and heavy cover. It handles scoring and creasing in the same hit.
- Rotary die cutting. A cylindrical die spins against the material as it feeds through, which is fast and well suited to labels, stickers, and long runs on thinner stock.
- Digital / laser cutting. No physical die is needed. A blade or laser follows a digital path, which is ideal for short runs, prototypes, and one-off shapes where building a steel die would not be worth it.
There is also kiss cutting, a shallow version used on labels and stickers. The blade cuts through the printed face stock but not the backing liner, so the label peels off while the sheet stays intact.
What can you make with die cutting?
Die cutting produces almost any printed item that is not a plain rectangle: folding cartons, custom boxes, mailers, labels, hang tags, presentation folders, retail displays, and shaped signage. It is the reason so much of the packaging and marketing you handle every day has a distinct silhouette.
On the custom packaging side, die cutting is what shapes folding cartons, custom printed boxes and mailers, food-safe cartons and sleeves built to meet food-contact requirements, blister packs, and retail-ready displays. As our packaging team describes the workflow, they “print, die cut, and finish” and can “die cut, foil, and glue in house,” so a box goes from board to finished carton under one roof.
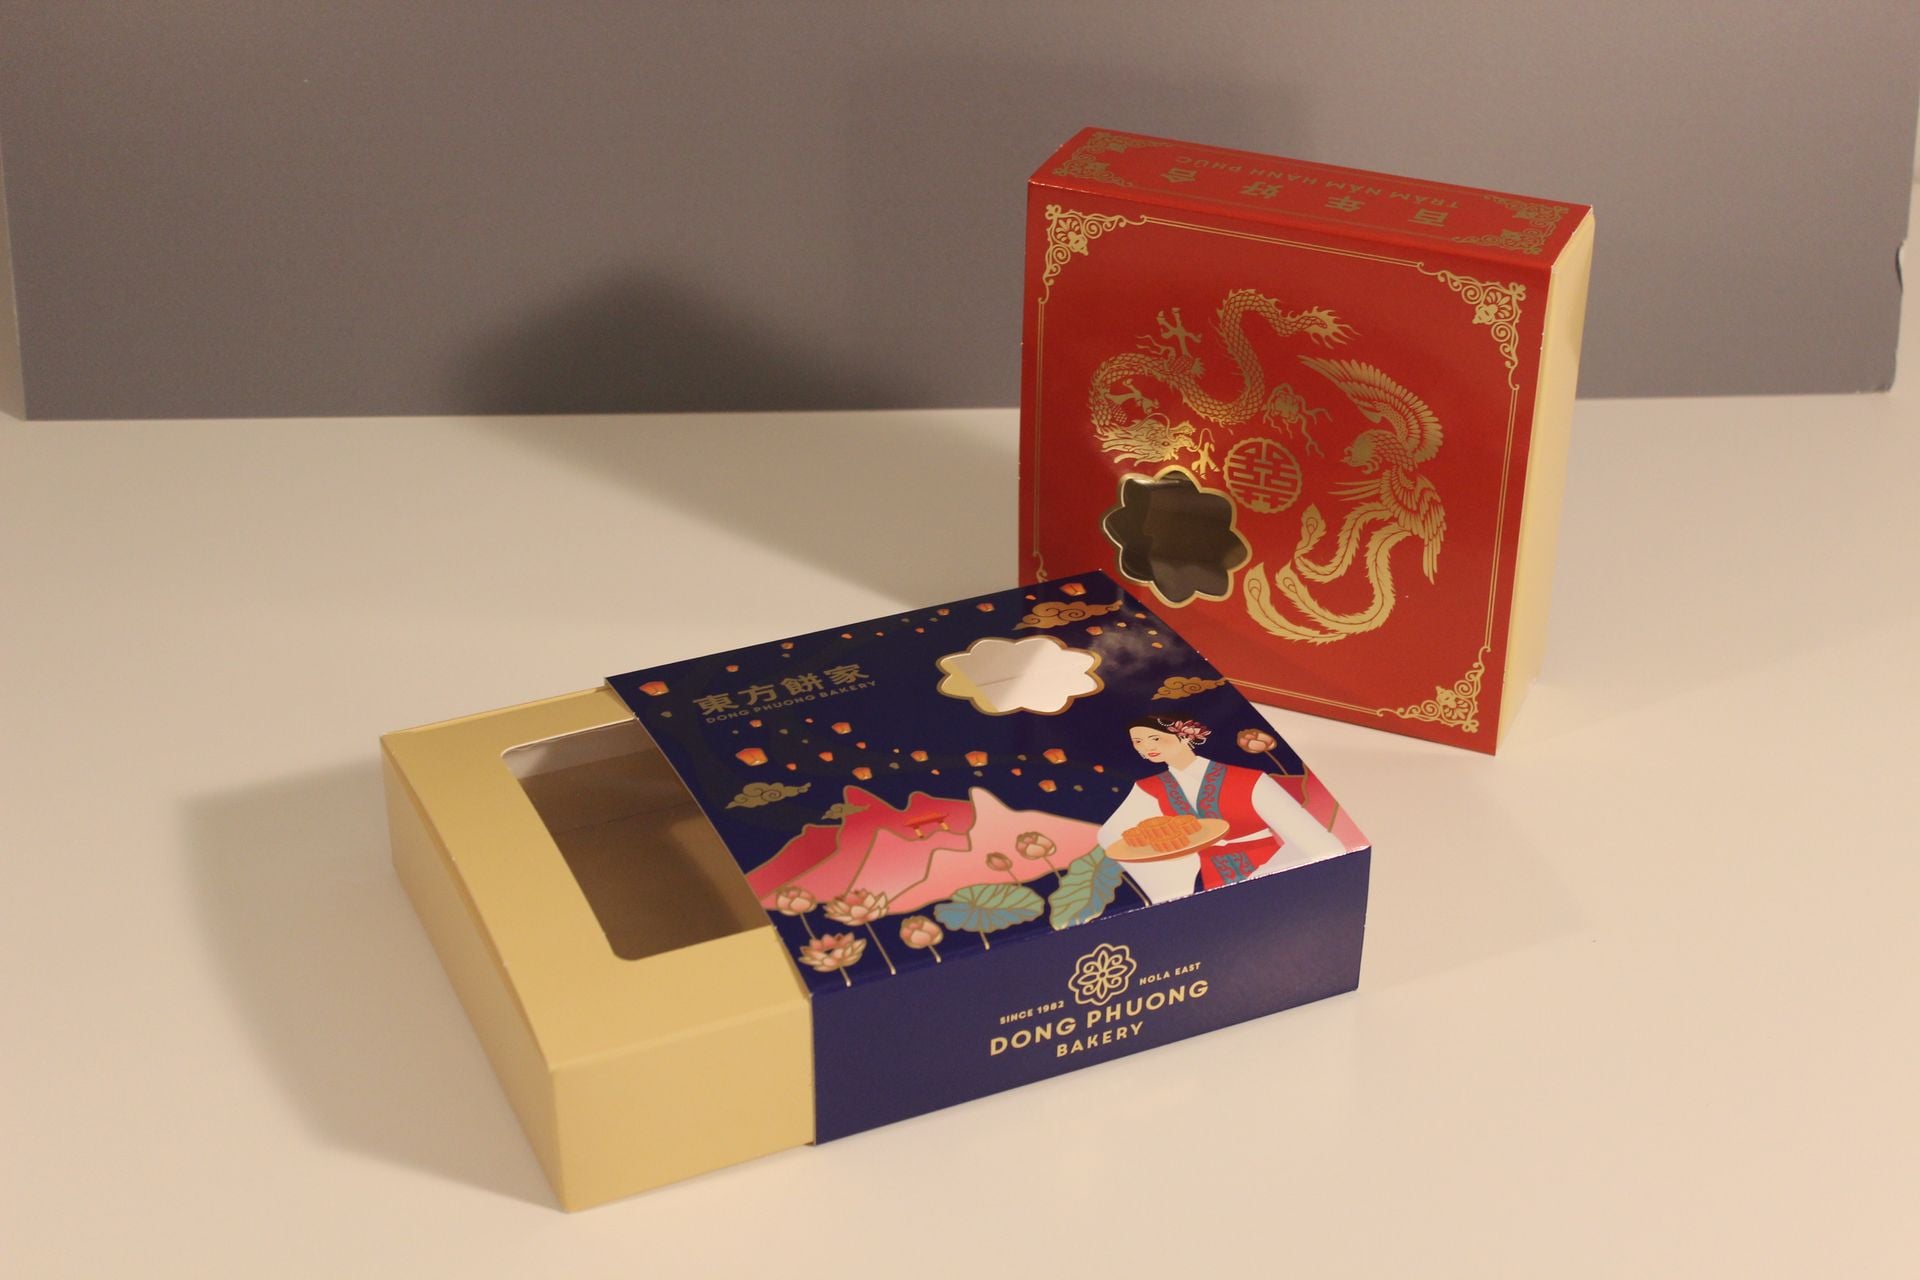
Die cutting is not only for boxes. It shapes rounded-corner business cards, tab-cut dividers, pocket folders, shelf and pot-stake tags, and even die-cut yard signs for seasonal and event work. If you can draw the outline, a die can usually cut it.
Why does die cutting matter for packaging and marketing?
Die cutting matters because shape and structure drive attention and sales, and packaging is often the first thing a buyer touches. In a national survey by Ipsos for the Paper and Packaging Board, 72 percent of Americans agreed that packaging design influences their purchase decisions, based on 2,002 adults surveyed in 2018. A custom die-cut carton or a shaped shelf display is one of the clearest ways to earn that second look.
The demand behind that is large and growing. The global folding cartons market reached about USD 185.18 billion in 2025 and is projected to hit roughly USD 296.97 billion by 2034, a compound annual growth rate of 5.47 percent, per Fortune Business Insights. At the same time, corrugated demand has been soft, with U.S. box shipments down 1.9 percent year over year in early 2026 according to Fibre Box Association data reported by Packaging Dive. When volume tightens, structure and finish are how a package competes for the shelf.
Why die cutting is in demand
Folding cartons are a growing market
Die cutting is what turns a printed sheet into a carton, so carton demand drives it.
Sources: Fortune Business Insights, folding cartons market; Ipsos for the Paper and Packaging Board (2,002 US adults, 2018).
For direct mail and retail marketing, an unusual shape also lifts response by breaking the pattern of flat rectangles in a mailbox or on a rack. That physical differentiation is hard to copy on a screen.
How do you prepare a file for die cutting?
You prepare a file for die cutting by supplying a vector dieline on its own layer, adding bleed past every cut edge, and keeping important content inside a safety margin. The dieline is the map the die is built from, so it has to be exact.
- Vector dieline. Draw the cut, score, and fold lines as vector paths, each on a clearly named spot color layer (for example, “Cut” and “Crease”). Avoid rasterized outlines.
- Bleed. Extend any color or image that touches the edge at least 0.125 inch past the cut line so no white slivers show if the cut shifts slightly.
- Safety margin. Keep text and logos a comfortable distance inside the cut so nothing critical lands on the blade.
- One proof, always. Review a physical or digital proof of the built shape before the run. A dieline that looks right on screen can still fold the wrong way in real board.
Not sure how to build a dieline? Send us your artwork and target size, and our prepress and bindery and finishing teams can create the dieline for you. You can upload a file to get started.
Frequently Asked Questions
What is the difference between die cutting and scoring?
Die cutting cuts all the way through the material to create a shape or hole. Scoring (also called creasing) presses a crease into the material without cutting through it, so the piece folds cleanly on that line. Most packaging uses both at once: the die cuts the outline and scores the fold lines in the same pass.
Is die cutting the same as laser cutting?
Not exactly. Traditional die cutting uses a physical steel die pressed or rolled through the material. Laser cutting follows a digital path with a focused beam and needs no physical die, which makes it better for short runs, prototypes, and intricate one-off shapes. Both produce custom outlines.
Do I need a special file for a die-cut job?
Yes. You need a vector dieline that shows the exact cut and fold lines, plus bleed on any edge that prints to the cut. If you do not have a dieline, our prepress team can build one from your finished size and artwork.
How precise is die cutting?
Well-made steel rule dies typically hold a tolerance of about plus or minus 0.005 inch, tight enough that the cut stays aligned with the printed design. Final precision depends on the material, the shape, and the press.
What products commonly use die cutting?
Folding cartons, custom boxes and mailers, labels and stickers, presentation folders, hang tags, rounded-corner cards, retail displays, and shaped signage are the most common die-cut products.
Ready to cut a custom shape?
Whether you need folding cartons, a shaped mailer, or die-cut signage, our team can build the die, print the job, and finish it in house. Request a quote at mpressnow.com/request-a-quote, upload your file, or call us at (504) 524-8248 to talk through your project. BANG!